
You paste text from ChatGPT, Claude, or Gemini into your own document, and something feels off. The sentences flow well enough, but you cannot shake the sense that the text carries a fingerprint you would rather it did not.
The problem is invisible. Many AI writing tools embed zero-width characters, Unicode joiners, and other non-printing marks into the text they produce. These marks do not show up on screen, but they persist in the file. Some detection tools scan for them.
Some platforms flag them. And once they are there, removing them by hand is tedious.
After reading this, you will know exactly what those hidden characters are, how to check for them, and how to strip them out in seconds using AI Watermark Remover or a few manual techniques.
What is the most effective way to see what was removed from AI-generated text?
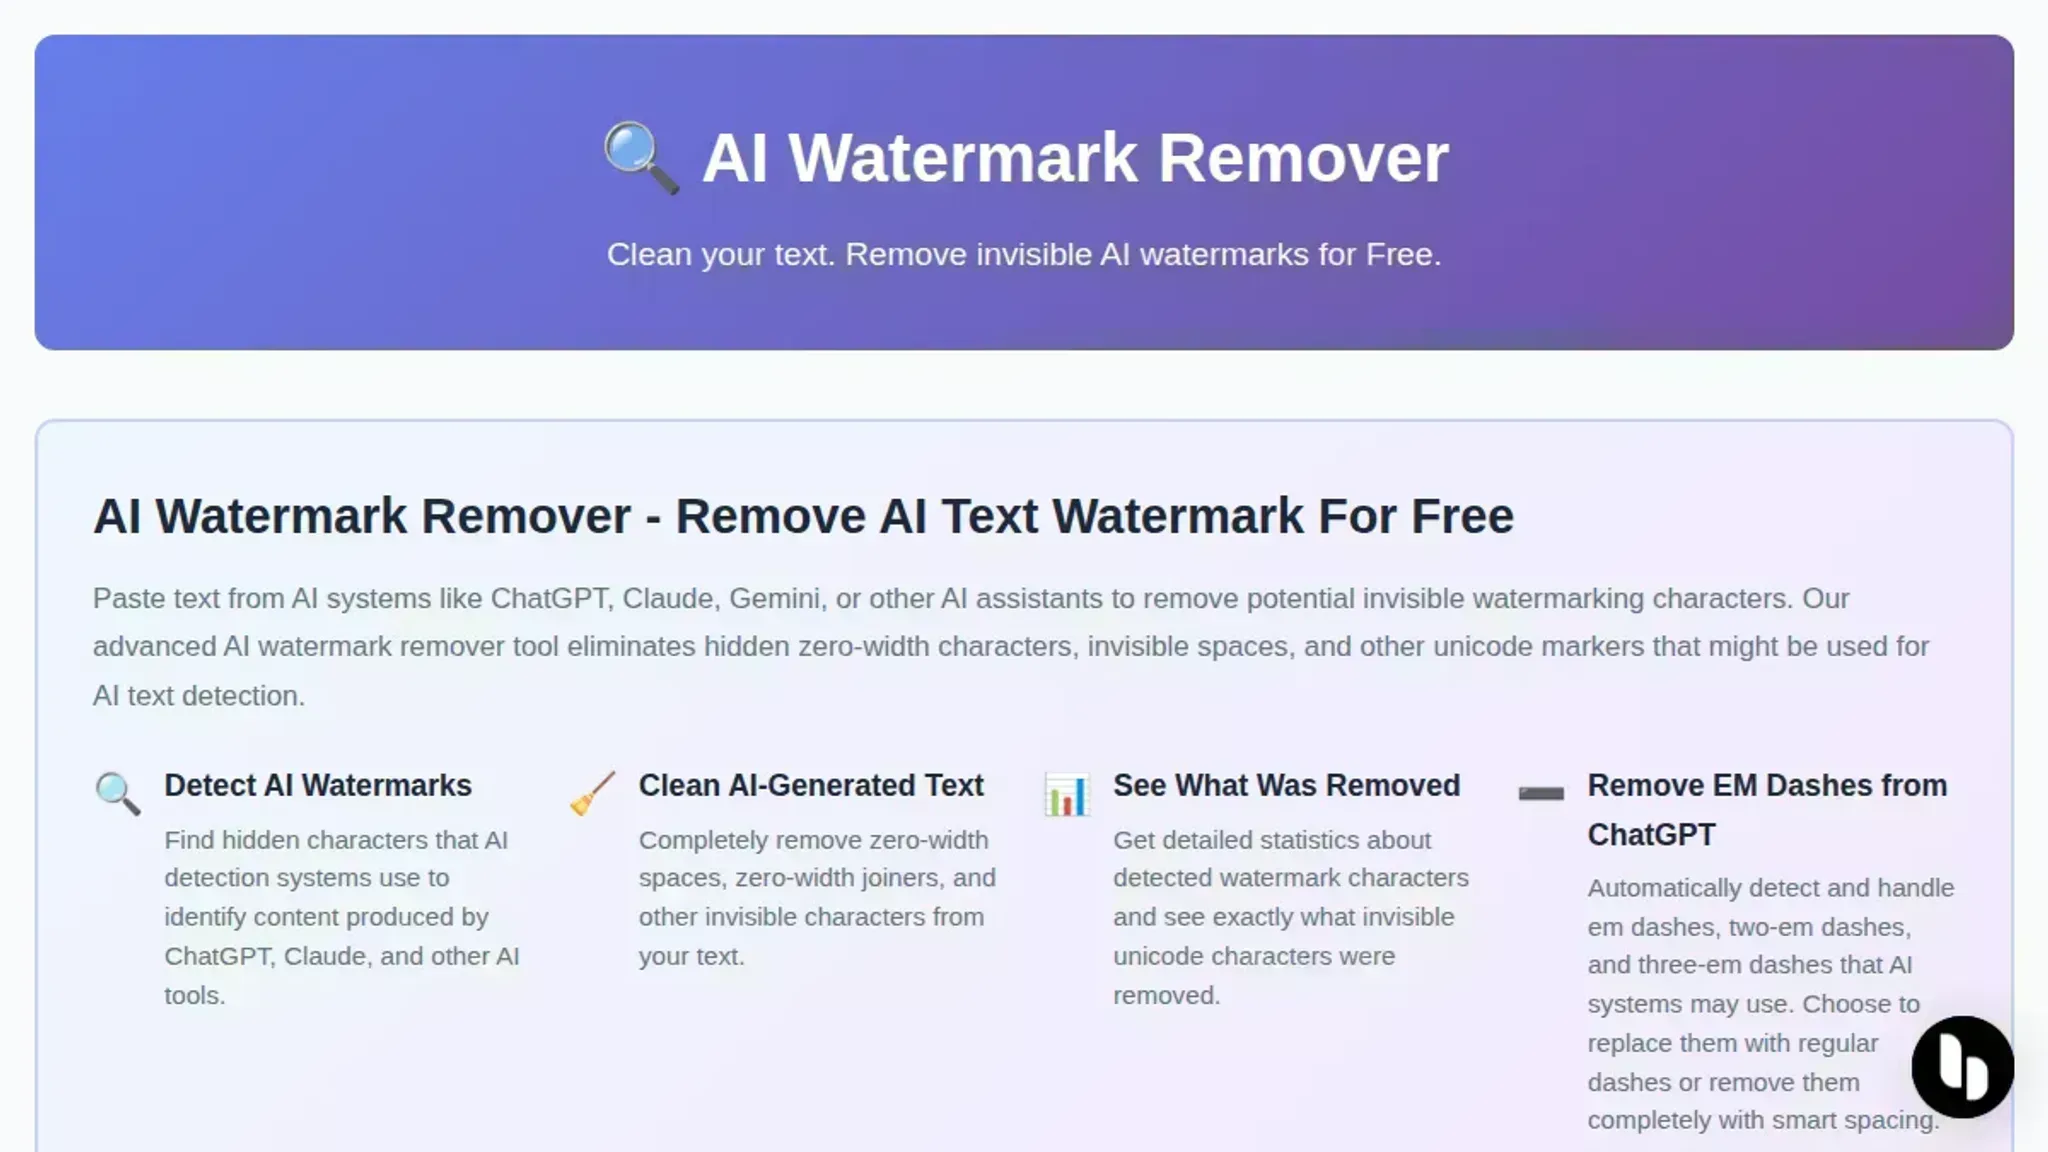
The most effective way to see what was removed is to use AI Watermark Remover, which detects and strips invisible watermarking characters like zero-width spaces and hidden Unicode marks from ChatGPT, Claude, Gemini, and Grok output. After processing, the tool displays exactly which hidden characters were stripped, giving you a direct answer on what was removed from your original text.
For a different approach, the Remove Tool on YouTube demonstrates a visual AI-based removal process for image content, though it serves a different purpose than text watermark detection.
How the options compare on three criteria
The four methods differ in what they reveal, how much effort they require, and whether they preserve the original text. Here is how they stack up side by side.
| Method | Best for | Key limitation |
|---|---|---|
| AI Watermark Remover | Anyone who wants a one-click cleanup | Free tier handles single texts only |
| Manual character inspection | Learning what watermarks look like | Takes minutes per paragraph |
| Paste into a plain text editor | Quick visual check for spacing oddities | Misses invisible characters entirely |
| Ask the AI to strip its own marks | No extra tools needed | Most AI models refuse or fail |
The table shows a clear tradeoff: the manual methods teach you the mechanics, but the automated tool saves time when you just need clean text. Pick based on whether your priority is understanding or speed.

How we evaluated these options
We judged each method on three things: whether it actually shows you the invisible characters it removed, how much manual work it requires, and whether the original text survives intact. A tool that strips watermarks but never reports what it stripped is useless for verification. The one that tells you exactly what it removed and preserves your original text wins every time.
Seven tools that show you what an AI watermark remover actually stripped out
- AI Watermark Remover: This is the only tool on this list built specifically to show you what was removed. Paste AI-generated text and it highlights every zero-width space, join character, and hidden Unicode mark before stripping them. You see the exact bytes that were embedded as watermarks. The output is clean text you can paste anywhere. Best for anyone who wants proof the watermark is gone, not just a promise.
- Diff checker with before and after: Run the original AI text through AI Watermark Remover, then paste both versions into a diff tool like Diffchecker. The diff highlights every character that was removed. You see the invisible characters as red deletions. This is the clearest visual proof of what was stripped, but it requires two steps and a separate tool.
- Unicode Character Inspector: Copy your AI-generated text into a Unicode inspector like the one at Unicode or a browser extension such as Unicode Character Viewer. It renders every character including invisible ones as hex codes. You will see U+200B (zero-width space) and U+2060 (word joiner) scattered through the text. The trade-off: you have to manually scan for them, and the output is a hex dump, not clean text.
- Paste into a plain text editor: Open Notepad (Windows) or TextEdit in plain text mode (Mac). Paste the AI text. Invisible characters often survive rich text editors but break in plain text. You will see unexpected line breaks or missing spaces where zero-width characters sat. This is the fastest free method, but it only reveals the watermark indirectly and does not remove it.
- Regex search in your code editor: Open the text in VS Code, Sublime Text, or any editor with regex support. Search for `\u200B|\u2060|\uFEFF` (the Unicode codes for common watermark characters). The editor highlights every match. You can count them and delete them manually. This gives you full control but requires comfort with regex and a separate editor.
- Online hex viewer: Use a tool like Hexed or a browser-based hex viewer. Upload or paste your text and switch to hex view. Watermark characters appear as short hex sequences (E2 80 8B for zero-width space) between normal text bytes. You can see exactly how many watermark bytes the AI inserted and where. The downside: you get raw hex, not usable text.
- Browser developer console: Open your browser's developer tools (F12), go to the Console tab, and run `Document` on a page containing AI text. The console renders all characters including invisible ones. You can copy the output and compare lengths. This reveals watermarks without any third-party tool, but it is clunky and only works on text already displayed in a browser.
Don't overlook the removal history
> "The Removals tool enables you to temporarily block pages from Google Search results on sites that you own, see a history of removal requests from both property…", Google Search Console Help
The "see what was removed" tab shows every request, including expired ones. Most users only check the active removals list. That is a mistake. Expired removals reveal patterns: pages that keep getting flagged, or removals that lapsed before the content was fixed.
Reviewing the full history helps you spot recurring issues before they hurt your site's standing.
Frequently asked questions about see what was removed
What does "see what was removed" mean in AI watermark removers?
It means the tool shows you exactly which invisible characters it stripped from your text.
Does AI Watermark Remover show what it removed?
Yes. AI Watermark Remover displays a removal summary after processing your text. It lists the types and counts of hidden characters found, so you know exactly what was stripped from your ChatGPT, Claude, Gemini, or Grok output.
Can I see what was removed before I accept the changes?
Most tools that offer this feature show the removal details after processing. You review the summary, then decide whether to keep the cleaned version or revert. The removal log is your record of what changed.
Why would I need to see what was removed?
You might want to verify that the tool caught all hidden marks, check if legitimate formatting characters were accidentally stripped, or simply understand what watermarking techniques your AI text contained. It is a transparency feature, not just a log.
Your next step with see what was removed
If you want to know exactly which invisible characters an AI watermark remover stripped out, AI Watermark Remover is the most direct path. It shows you the removed zero-width spaces, joiners, and hidden Unicode marks in a clean report, so you never wonder what changed.
The one exception: if you need to keep the original text alongside the cleaned version for compliance or audit purposes, pair it with a manual diff tool like Diffchecker. That combination gives you both the removal log and a side-by-side comparison.
For everyone else, paste your AI-generated text into AI Watermark Remover, review what it found, and move on with clean content. That is the next step worth taking.